Halloween Witch Decorations Handmade With Care
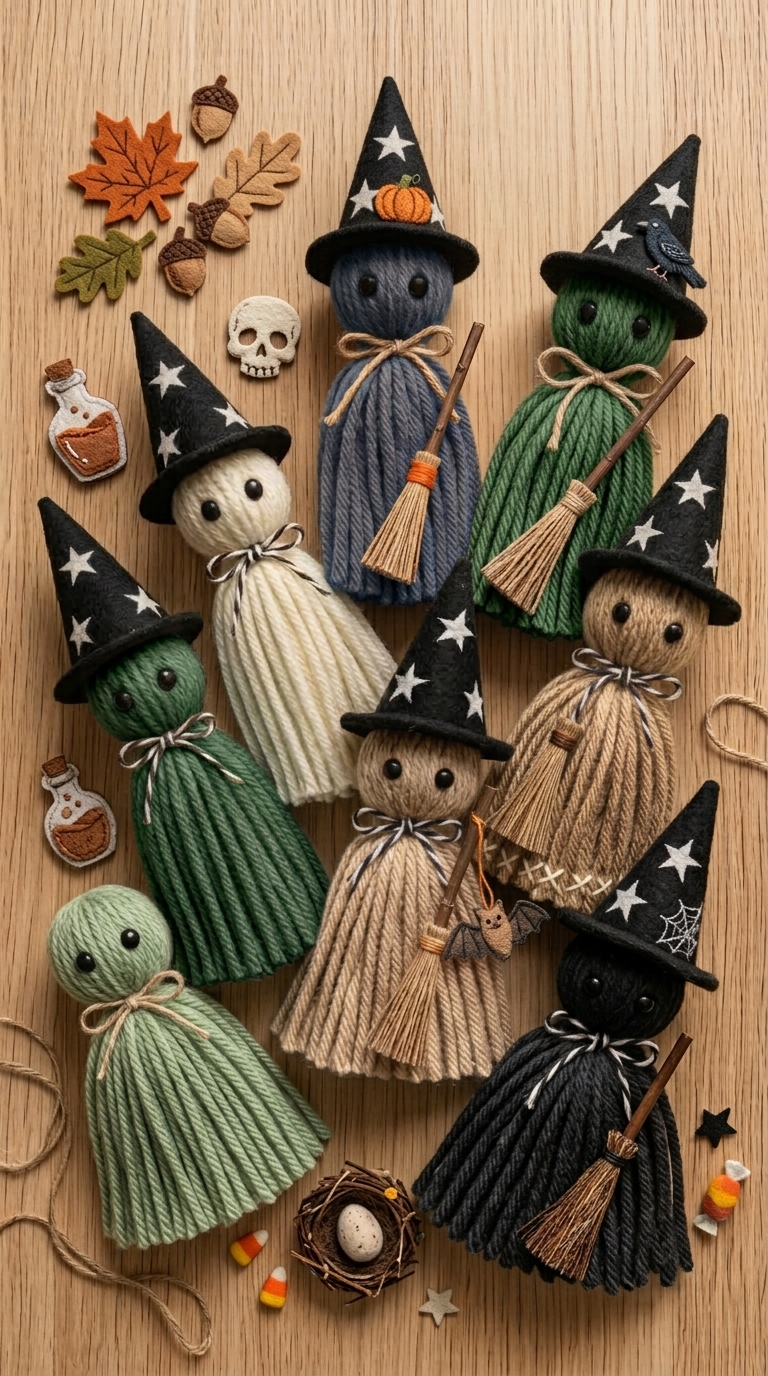
As Halloween approaches, it’s time to embrace the spirit of the season with handmade decorations that can transform your home into a whimsical witch’s lair. From enchanting wall hangings to delightful fabric witches, creating your own decorations not only adds a personal touch but also allows you to showcase your sewing skills. In this article, we’ll guide you through the process of making Halloween witch decorations, ensuring that every stitch is crafted with care.
Materials and Tools Required
Before diving into the sewing instructions, it’s essential to gather all the necessary materials and tools. Here’s what you’ll need:
- Black felt or cotton fabric
- Orange and purple fabric (optional for embellishments)
- Stuffing (polyester fiberfill)
- Thread (black, orange, and purple)
- Sewing machine or hand sewing needle
- Scissors
- Fabric glue (for embellishments)
- Measuring tape
- Pins or fabric clips
Fabric Recommendations
Choosing the right fabric is crucial for your witch decorations. Here are some recommendations:
- Felt: Ideal for a sturdy structure and easy to work with.
- Cotton: Lightweight and available in various prints, perfect for a whimsical look.
- Canvas: Durable and great for outdoor decorations.
Step-by-Step Sewing Instructions
Now that you have your materials ready, let’s get started on sewing your Halloween witch decorations.
Step 1: Design Your Witch
Sketch your desired witch design on paper. Consider elements like the hat shape, dress style, and any accessories you want to include.
Step 2: Cut the Fabric
Using your design as a guide, cut out the fabric pieces:
- Two pieces for the body (front and back)
- One piece for the hat
- Optional: arms, legs, and accessories
Step 3: Assemble the Body
Place the two body pieces right sides together and pin them in place. Sew around the edges, leaving the bottom open for stuffing.
Turn the body right side out and stuff it with polyester fiberfill until it reaches your desired firmness.
Step 4: Create the Hat
Cut the hat piece into a cone shape. Fold the edges over and sew them together. Attach the hat to the head of your witch body using fabric glue or by sewing it securely.
Step 5: Add Details
Embellish your witch with additional decorations. You can sew or glue on arms, legs, and any other accessories like a broomstick or a cauldron.
Step 6: Final Touches
Once everything is assembled, double-check for any loose threads or unsecure pieces. Make any necessary adjustments and ensure your witch is sturdy and ready for display!
Helpful Sewing Tips and Common Mistakes to Avoid
Here are some sewing tips to make your crafting experience smoother:
- Always pre-wash your fabric to avoid shrinkage later.
- Use sharp scissors for clean cuts.
- Pin your fabric pieces well to prevent slipping while sewing.
- Take your time with the details; they can make your witch more enchanting!
- Avoid overstuffing to maintain a soft, appealing look.
How to Wear and Style This Clothing Item
While the focus of this article is on decorations, if you wish to incorporate these designs into your wardrobe, consider creating matching accessories like witch hats or themed skirts. Here’s how to style them:
- Witch Hat: Pair it with a simple black dress for a classic witch look.
- Witch Apron: Use a witch-themed apron while baking or crafting to add Halloween spirit to everyday activities.
Outfit Ideas for Different Occasions
Here are some creative outfit ideas using your handmade witch decorations for various occasions:
- Halloween Party: Combine a black dress with a witch hat and a flowing cape.
- Kids’ Costume Party: Dress your child in a witch costume complete with a handmade hat and decorations.
- Home Decor: Use your witches as table centerpieces or mantel decorations for a spooky ambiance.
Care and Maintenance Instructions
To keep your handmade witch decorations looking fresh, follow these care tips:
- Spot clean with a damp cloth for minor stains.
- Avoid direct sunlight to prevent fading of colors.
- Store in a cool, dry place when not in use.
FAQ
What materials are best for making witch decorations?
Felt and cotton are excellent choices for durability and ease of sewing.
Can I make witch decorations without a sewing machine?
Yes, hand sewing is a feasible option, especially for smaller projects.
How long does it take to make witch decorations?
Depending on your skill level and complexity, it can take anywhere from a few hours to a couple of days.
Are there alternative ways to decorate without sewing?
Yes, you can use fabric glue, hot glue, or even no-sew fabric options to create decorations.
Can I use recycled materials for my decorations?
Absolutely! Old clothing or fabric scraps can make for fantastic and eco-friendly decorations.
How do I ensure my decorations last for multiple seasons?
Proper care and storage are key. Follow care instructions and store them in a safe environment to prolong their lifespan.
Conclusion
Creating Halloween witch decorations handmade with care not only enhances your home’s festive spirit but also allows you to express your creativity. By following the steps outlined above and avoiding common sewing mistakes, you can craft charming pieces that will delight both you and your guests. So gather your materials, let your imagination run wild, and enjoy the process of crafting your own Halloween magic!