19 Quick Halloween Crafts
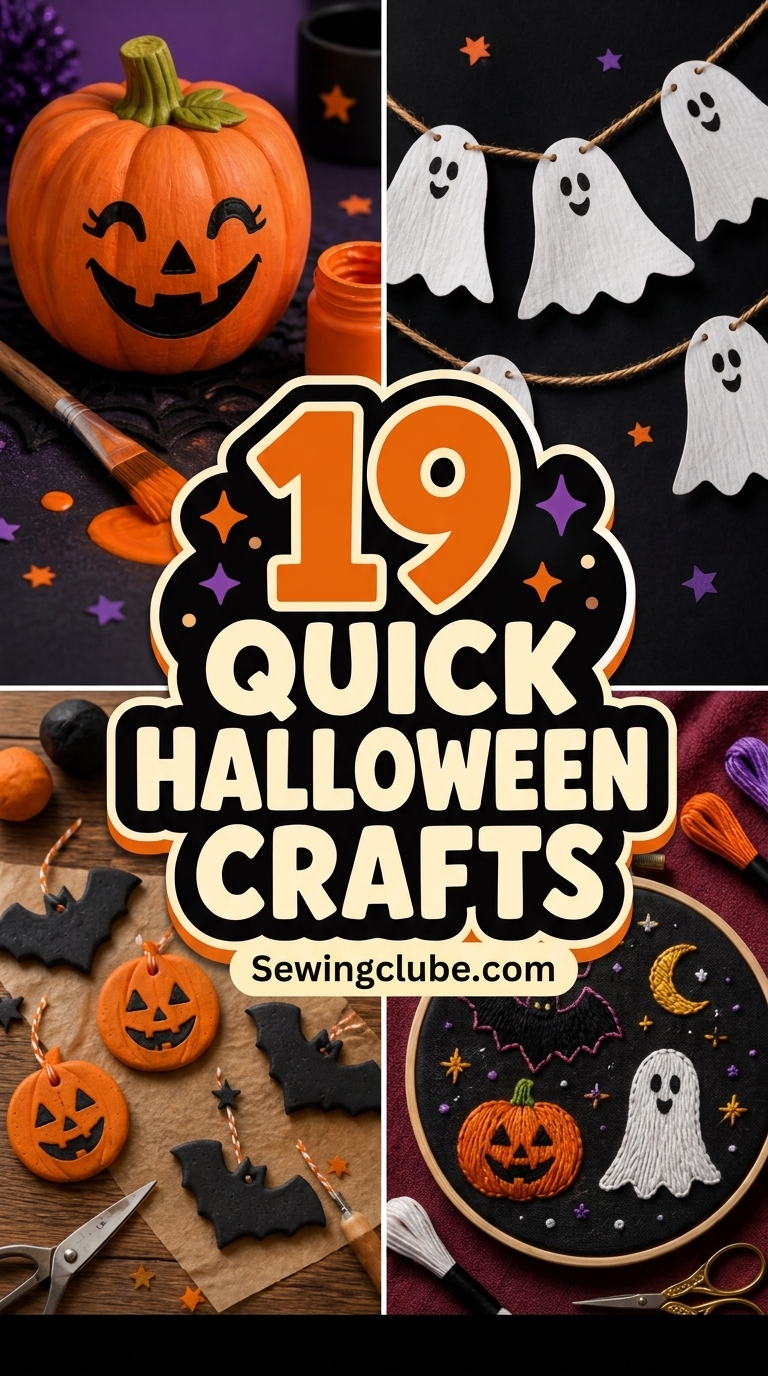
Halloween is a time for creativity and fun, and what better way to celebrate than by crafting your own spooky decorations and costumes? In this article, we will explore 19 quick Halloween crafts that are perfect for all ages. From simple sewing projects to festive decor, these crafts will add a personal touch to your Halloween celebrations. Whether you’re a seasoned sewist or a beginner, you’ll find something here to inspire your Halloween spirit!
1. Spooky Ghost Bunting
This simple sewing project can brighten up any Halloween party. A ghost bunting is easy to make and provides a festive atmosphere.
Materials Needed:
- White fabric (cotton or muslin)
- Black felt (for eyes)
- String or twine
- Scissors
- Sewing machine
- Fabric glue (optional)
Fabric Recommendations:
For this project, lightweight cotton or muslin works best as they are easy to sew and hang nicely.
Step-by-Step Instructions:
- Cut out ghost shapes from the white fabric. Each ghost should be about 12 inches tall.
- Cut out eyes and mouths from the black felt and glue or sew them onto the ghosts.
- Sew a straight stitch along the top of each ghost to attach them to the string or twine.
- Hang your ghost bunting across your porch or in your living room for a spooky effect!
Sewing Tips:
Ensure your stitches are even and secure to prevent the ghosts from falling off the string. Avoid cutting the fabric too small, as it may fray.
How to Wear and Style:
While this is primarily a decoration, you can also use smaller versions as costume accessories!
Occasion Ideas:
- Halloween parties
- Classroom decor
- Haunted house setups
Care and Maintenance:
Store your bunting in a cool, dry place. If it gets dirty, hand wash it gently and air dry.
2. Pumpkin Tote Bag
Get ready for trick-or-treating with a fun pumpkin tote bag! This easy sewing project is both practical and festive.
Materials Needed:
- Orange fabric (canvas or cotton)
- Green felt (for the stem)
- Sewing machine
- Thread
- Scissors
- Iron
Fabric Recommendations:
Choose a sturdy fabric like canvas to support the weight of candy and other goodies.
Step-by-Step Instructions:
- Cut out two pieces of orange fabric in the shape of a pumpkin, about 14 inches wide and 16 inches tall.
- Cut a strip of green felt for the stem, about 3 inches wide and 10 inches long.
- Sew the two pumpkin shapes together, leaving the top open.
- Attach the felt stem to the top of the bag.
- Turn the bag inside out and press with an iron for a polished look.
Common Mistakes to Avoid:
Make sure to backstitch at the beginning and end of your seams to secure them. Be careful not to sew the top of the bag shut!
Outfit Ideas:
This pumpkin tote bag pairs well with a simple black outfit or a witch costume. It’s a great accessory for carrying candy on Halloween night!
Care Instructions:
Spot clean your tote bag or machine wash it on a gentle cycle and air dry.
3. Witch Hat Headband
Make a cute witch hat headband for a quick and easy costume accessory!
Materials Needed:
- Black felt
- Wire (for structure)
- Headband
- Hot glue gun
- Scissors
Fabric Recommendations:
Use medium-weight felt as it holds its shape well and is easy to work with.
Step-by-Step Instructions:
- Cut a triangle from the black felt to form the hat.
- Cut a circle for the base of the hat.
- Shape the triangle into a cone and glue the edges together.
- Attach the cone to the circle base using hot glue.
- Secure the witch hat to the headband with glue.
Helpful Sewing Tips:
Use a low-temperature glue to avoid damaging the felt. Ensure the hat is securely attached to the headband to prevent it from falling off.
How to Style:
This headband can be paired with a black dress or a classic witch costume. Add a broomstick for the perfect touch!
Care and Maintenance:
Keep your headband dry and store it in a cool place. If it gets dusty, gently wipe with a damp cloth.
4. Spider Web Tablecloth
Add a spooky touch to your Halloween dining with a spider web tablecloth!
Materials Needed:
- Black fabric (polyester or cotton)
- White yarn or embroidery thread
- Scissors
- Sewing machine
Fabric Recommendations:
A lightweight polyester fabric drapes nicely and is easy to clean.
Step-by-Step Instructions:
- Cut the black fabric to your desired table size.
- Using white yarn, create spider web designs by sewing or gluing the yarn onto the fabric.
- Embellish with plastic spiders or other Halloween-themed decor.
Common Mistakes to Avoid:
Make sure the yarn is tightly secured to avoid it coming loose after washing.
Caring for Your Tablecloth:
Machine wash on gentle and hang to dry. Avoid using bleach to keep colors vibrant.
5. Bat Wreath
Welcome guests with a bat wreath made from felt or foam!
Materials Needed:
- Black felt or foam sheets
- Wreath form (styrofoam or wire)
- Hot glue gun
- Scissors
Fabric Recommendations:
Opt for stiff felt or foam for easy cutting and shaping.
Step-by-Step Instructions:
- Cut bat shapes from the felt or foam.
- Glue the bats onto the wreath form, layering them for a full look.
- Add any additional decorations, like ribbon or glitter.
How to Hang:
Use a door hook or nail to display your wreath. It adds an eerie charm to any front door!
6. Mummy Candy Jars
Transform ordinary jars into spooky mummy candy holders!
Materials Needed:
- Empty glass jars
- White gauze or cheesecloth
- Googly eyes
- Hot glue gun
- Candy to fill the jars
Step-by-Step Instructions:
- Wrap the jar in gauze, leaving gaps for the eyes.
- Secure the ends of the gauze with hot glue.
- Glue on googly eyes to create a mummy face.
- Fill with candy and place them around your home!
Care and Maintenance:
Keep jars dry and clean. Refill with candy as needed!
7. Skeleton Hand Garlands
Deck your halls with a garland made from skeleton hands!
Materials Needed:
- White paper or felt
- Twine or string
- Scissors
- Glue or tape
Step-by-Step Instructions:
- Cut out skeleton hand shapes from the paper or felt.
- Use glue or tape to attach the hands to the string.
- Hang the garland across your mantel or walls.
How to Style:
This garland adds a touch of spookiness to any Halloween decor.
8. Halloween Pillows
Make festive pillows to decorate your couch or chairs!
Materials Needed:
- Orange and black fabric
- Stuffing or pillow inserts
- Sewing machine
- Scissors
Step-by-Step Instructions:
- Cut fabric into squares or rectangles.
- Sew three sides together, leaving one side open.
- Turn inside out, stuff, and sew the open side closed.
Outfit Ideas:
Pair these pillows with Halloween-themed blankets for a cozy atmosphere.
9. Halloween Costumes
Create DIY costumes that are both easy and fun!
Ideas:
- Ghost: Use a white sheet with eye holes.
- Zombie: Ripped clothes and face paint.
- Witch: Black dress and a homemade hat.
10. Scarecrow Decoration
A scarecrow can be a charming addition to your yard or home decor!
Materials Needed:
- Old clothes
- Straw or hay
- Pumpkin for the head
- Sewing kit
Step-by-Step Instructions:
- Stuff old clothes with straw or hay.
- Use a pumpkin as the head and attach it to the clothes.
- Place it in your yard for a fun scarecrow display!
11. DIY Candy Corn Decorations
Create candy corn-themed decor for your home!
Materials Needed:
- Yellow, orange, and white felt
- Glue
- Scissors
Step-by-Step Instructions:
- Cut each color into triangles representing candy corn.
- Glue them together to create candy corn shapes.
- Display them as table centerpieces or wall art!
12. Halloween-Themed Masks
Craft unique masks for kids and adults alike!
Materials Needed:
- Cardstock or felt
- Elastic bands
- Scissors
- Markers or paints for decoration
Step-by-Step Instructions:
- Cut out mask shapes from cardstock or felt.
- Decorate with markers or paint.
- Attach elastic bands to the sides.
13. DIY Potion Bottles
Make your own potion bottles for a spooky touch!
Materials Needed:
- Empty glass bottles
- Food coloring
- Labels for potions
- Craft supplies for decoration
Step-by-Step Instructions:
- Fill bottles with water and a few drops of food coloring.
- Label them with spooky names and decorate the bottles.
14. Halloween-Themed Nail Art
Get into the spirit with some festive nail art!
Materials Needed:
- Nail polish in Halloween colors (orange, black, purple)
- Nail art tools
- Topcoat
Step-by-Step Instructions:
- Paint your nails with a base color.
- Use nail art tools to create Halloween designs.
- Finish with a topcoat to seal the design.
15. Halloween Goodie Bags
Create personalized goodie bags for Halloween treats!
Materials Needed:
- Brown paper bags
- Markers or paints
- Stickers or embellishments
Step-by-Step Instructions:
- Decorate the bags with Halloween themes.
- Fill them with candy and treats.
- Hand them out to friends or at parties!
16. DIY Halloween Jewelry
Make spooky jewelry to complete your Halloween look!
Materials Needed:
- Beads in Halloween colors
- Jewelry wire
- Pliers
Step-by-Step Instructions:
- Create designs using beads and wire.
- Use pliers to secure the ends.
- Wear them to your Halloween festivities!
17. Halloween-Themed T-Shirts
Create your own Halloween t-shirts with fun designs!
Materials Needed:
- Plain t-shirts
- Fabric paint or iron-on transfers
- Brushes or sponges
Step-by-Step Instructions:
- Design your Halloween graphics on paper or digitally.
- Transfer the design onto the shirt using fabric paint or transfers.
- Allow to dry completely before wearing.
18. Creepy Candle Holders
Make spooky candle holders to set the ambiance!
Materials Needed:
- Glass jars
- Fake spider webs
- Battery-operated candles
Step-by-Step Instructions:
- Wrap the jars in fake spider webs.
- Place the battery-operated candles inside.
- Display them around your home!
19. Halloween Tree
Create a mini Halloween tree for decorations!
Materials Needed:
- Small tree branches
- Spray paint (black or orange)
- Halloween ornaments
Step-by-Step Instructions:
- Spray paint the branches and let them dry.
- Decorate with Halloween-themed ornaments.
- Place them as a centerpiece!
FAQ
What is the best fabric for Halloween crafts?
For many Halloween crafts, cotton or felt is recommended due to their ease of use and availability in Halloween colors.
Can I modify these crafts for different ages?
Absolutely! Many of these crafts can be simplified for younger crafters or made more intricate for older kids and adults.
How can I store my Halloween crafts?
Store your crafts in a cool, dry place. Use airtight containers to keep items safe from dust and damage.
Are there any safety tips for using hot glue?
Always be cautious with hot glue as it can cause burns. Use a low-temperature glue gun when working with children.
Can these crafts be used for other holidays?
Many of these ideas can be adapted for other holidays by changing the colors and decorations to fit the theme!
How do I clean up after crafting?
Keep a trash bag nearby for scraps, and clean your workspace with a damp cloth when finished to avoid residue.
Conclusion
These 19 quick Halloween crafts offer a fun way to celebrate the spooky season while expressing your creativity. Whether you’re decorating your home, creating costumes, or making treats, these crafts will surely enhance your Halloween experience. Gather your materials, invite some friends over, and start crafting your way to a memorable Halloween!