Halloween Deko Witch Puppen To Adorn Your Space
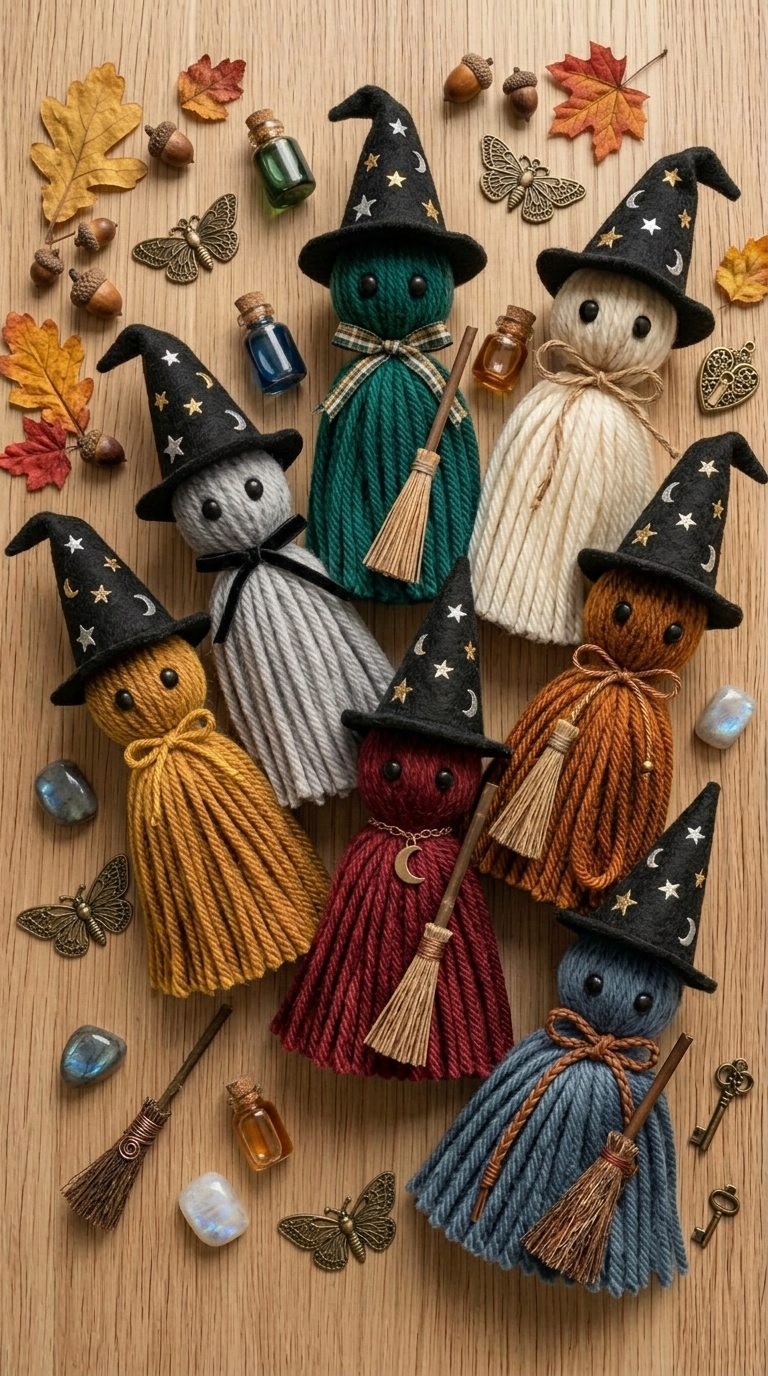
As Halloween approaches, many people look for unique and creative ways to decorate their homes. One of the most charming decorations you can create is a witch puppet, which adds a whimsical and spooky touch to your space. This article will guide you through the process of sewing your very own Halloween witch puppet, from the materials you’ll need to step-by-step instructions. Whether you’re an experienced seamstress or a beginner, this project is sure to delight both you and your guests.
Materials and Tools Required
To get started on your witch puppet, gather the following materials and tools:
- Fabric for the body (felt or cotton in green or purple)
- Fabric for the hat (black felt)
- Yarn or embroidery thread for hair (black or orange)
- Stuffing (polyester fiberfill)
- Scissors
- Sewing machine or needle and thread
- Fabric glue (optional)
- Pins
- Measuring tape or ruler
- Paper for pattern making
Fabric Recommendations
Choosing the right fabric is crucial for creating a witch puppet that looks delightful and holds its shape. Here are some recommendations:
- Felt: Great for beginners, felt is easy to cut and doesn’t fray, making it perfect for the body and hat.
- Cotton fabric: If you’re looking for a softer finish, cotton can be used for the body. Choose colorful prints that resonate with Halloween themes.
- Yarn: Use yarn for the hair to give your puppet a fun and textured look.
Step-by-Step Sewing Instructions
Now that you have your materials, let’s dive into the sewing process. Follow these step-by-step instructions to create your witch puppet:
Step 1: Create the Pattern
Start by making a simple pattern on paper for the body, hat, and arms of the puppet. Here’s a basic guideline:
- Body: A rectangle approximately 12 inches tall and 5 inches wide.
- Hat: A triangle with a base of 6 inches and a height of 5 inches.
- Arms: Two rectangles, each 5 inches long and 2 inches wide.
Step 2: Cut Your Fabric
Using your patterns, cut out the fabric pieces. You should have:
- 1 body piece
- 1 hat piece
- 2 arm pieces
Step 3: Sew the Body
With the right sides of the fabric together, sew along the sides of the body, leaving the bottom open for stuffing. Turn the body inside out and stuff it lightly with polyester fiberfill.
Step 4: Create and Attach the Arms
Sew the arm pieces together, leaving one end open. Turn them inside out, and insert them into the sides of the body before sealing the bottom. Make sure they are positioned at a comfortable angle.
Step 5: Make the Hat
Fold the hat triangle in half and sew along the edges to create a cone shape. Attach the hat to the top of the head by sewing or gluing it securely.
Step 6: Add Hair and Details
Cut lengths of yarn for the hair, and sew or glue them to the top of the head. You can also embellish your witch puppet with buttons, beads, or embroidery for facial features.
Helpful Sewing Tips and Common Mistakes to Avoid
Here are some tips to ensure your witch puppet turns out wonderfully:
- Use sharp scissors: Dull scissors can lead to uneven cuts, which can affect the final look.
- Pin your fabric: This helps keep pieces in place while you sew, preventing any slipping.
- Take your time: Rushing can lead to mistakes, so take your time with each step.
- Check your stitches: Make sure to secure your stitches, especially where the arms and head attach.
How to Display and Style Your Witch Puppet
Your witch puppet can be a fun addition to your Halloween décor. Here are some creative ideas on how to display and style it:
- Doorstep Greeting: Place your witch puppet on your porch to welcome trick-or-treaters.
- Table Centerpiece: Use it as a part of your Halloween table setting.
- Window Display: Hang your puppet in a window to create an inviting and spooky vibe.
Outfit Ideas for Different Occasions
While this article focuses on the puppet itself, you can also draw inspiration for your Halloween costume from the witch puppet you create. Here are some outfit ideas:
- Classic Witch: A black dress with a pointy hat inspired by your puppet.
- Colorful Witch: Use bright colors like orange and purple to create a fun and modern witch look.
- Witch with Accessories: Pair your outfit with a broomstick and spooky jewelry.
Care and Maintenance Instructions
To keep your witch puppet looking its best, follow these care tips:
- Spot Clean: Use a damp cloth to spot clean any dirt or stains.
- Avoid Moisture: Keep your puppet away from damp areas to prevent mold.
- Store Carefully: If storing for the off-season, keep it in a dry, cool place away from direct sunlight.
FAQ
What type of fabric is best for making a witch puppet?
Felt is highly recommended for its ease of use and durability, but cotton can also work well for a softer finish.
Can I customize the colors of the witch puppet?
Absolutely! Feel free to experiment with different colors and patterns to match your Halloween decor.
How long does it take to make a witch puppet?
The sewing process can typically take 2-3 hours, depending on your sewing experience.
Can I use a sewing machine for this project?
Yes, using a sewing machine can speed up the process, but hand sewing is also perfectly fine for those who prefer it.
Is this project suitable for children?
With adult supervision, children can help with certain aspects, such as choosing colors and stuffing the puppet.
What other decorations can I make to complement my witch puppet?
You can create other Halloween-themed puppets, garlands, or even painted pumpkins to create a cohesive décor theme.
Conclusion
Creating a Halloween witch puppet is a delightful way to add some festive spirit to your home. With simple materials, straightforward sewing instructions, and a bit of creativity, you can craft a unique decoration that captures the magic of Halloween. Whether you choose to display your puppet indoors or outdoors, it’s sure to bring joy to all who see it. Happy sewing!